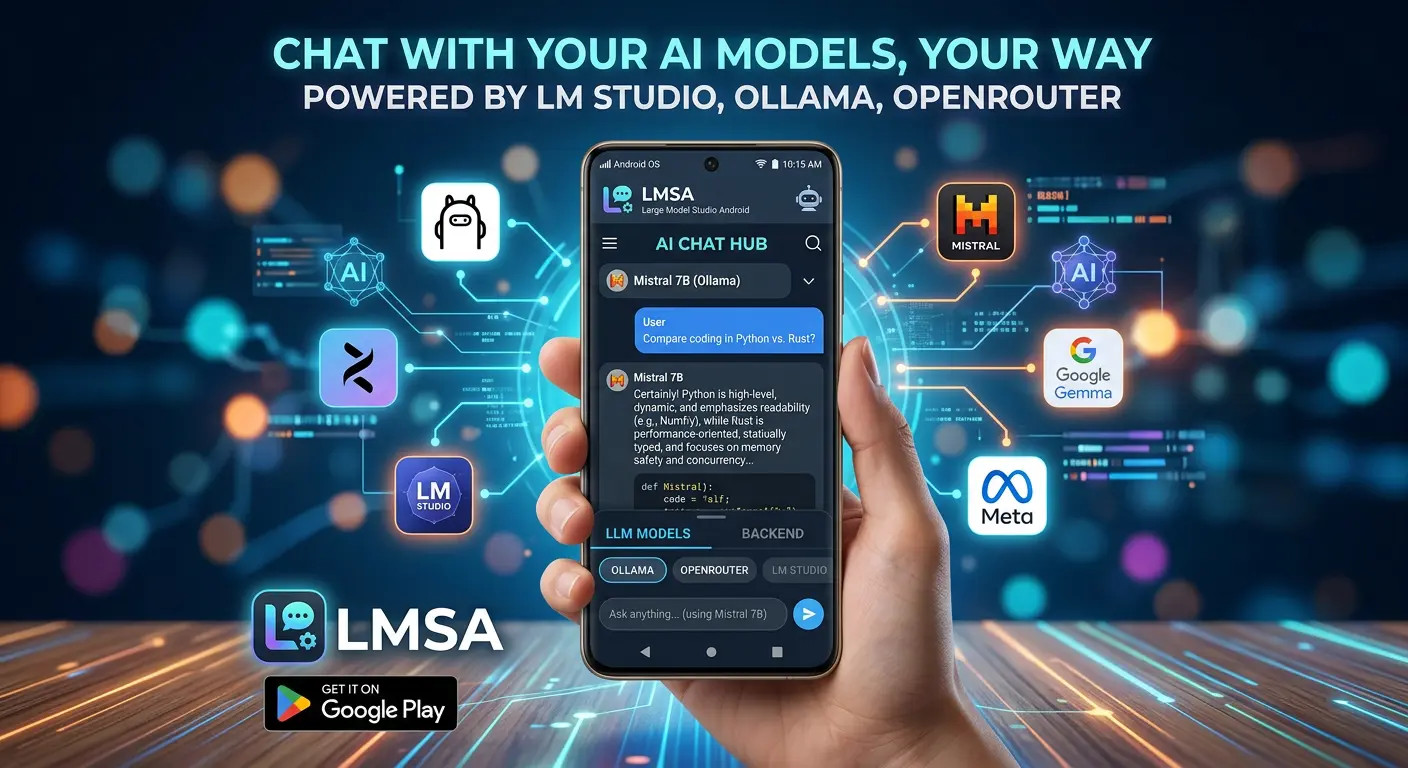

We are living in the golden age of artificial intelligence, but for many of us, the convenience of AI comes with an uncomfortable compromise: our privacy. Standard cloud-based voice assistants and AI chatbots constantly stream your data, your queries, and even your biometric voice data to remote servers.
But what if you could have the fluid, hands-free experience of a smart voice assistant without sacrificing your data? What if you could talk directly to an AI running on your own hardware, in your own home?
Thanks to the rapid advancement of local Large Language Models (LLMs) and tools like LM Studio and Ollama, running powerful AI on your personal computer is easier than ever. The missing piece of the puzzle has been the mobile bridge—a way to talk to that local AI from your phone securely.
Enter LMSA (Local Model Server Access).
Available on the Google Play Store (and at https://lmsa.app), LMSA is an Android application built from the ground up for privacy-first, zero-knowledge AI interactions. By utilizing on-device private Text-to-Speech (TTS) technology, LMSA ensures that your voice never leaves your phone, and your prompts only go exactly where you tell them to.
In this comprehensive guide, we will walk you through exactly how to set up a fully private voice chat experience using LMSA, connecting it to your local LM Studio or Ollama server, and even exploring privacy-respecting cloud alternatives using OpenRouter’s Zero Data Retention (ZDR).
Why Privacy-First Architecture Matters
Before we dive into the setup, it is crucial to understand why this architecture is so important.
When you use a traditional AI voice assistant, the app records your voice, sends the audio file to the cloud for transcription, processes the text through an LLM, generates an audio response in the cloud, and streams it back. That is a massive digital footprint.
LMSA flips this paradigm. It uses your Android device’s native, on-device capabilities to transcribe your voice to text. Only that text is sent over your local Wi-Fi network to your PC running LM Studio or Ollama. When your local model generates a response, it sends text back to your phone, where the on-device TTS engine reads it aloud.
Your audio data never touches a third-party server. Your conversational data never leaves your local area network (LAN). It is a complete, closed-loop, private ecosystem.
Prerequisites: What You Will Need
To get started, make sure you have the following ready:
- An Android Smartphone with the LMSA app installed from the Google Play Store.
- A PC or Mac with either LM Studio or Ollama installed.
- A Local Wi-Fi Network. Both your phone and your computer must be connected to the same network.
- An AI Model downloaded within LM Studio or Ollama (e.g., Llama 3, Mistral, or Phi-3).
Phase 1: Setting Up Your Local AI Server
You have two primary choices for running your local model. Here is how to configure both to accept connections from your LMSA app.
Option A: Configuring LM Studio
LM Studio makes running a local server incredibly visual and intuitive.
- Open LM Studio and navigate to the Local Server tab (the icon looks like a two-way arrow on the left sidebar).
- Load a Model: Select a model you have already downloaded from the dropdown menu at the top.
- Configure the Server: Look at the right-hand panel. You will see a setting for the server port (usually
1234). Make sure CORS (Cross-Origin Resource Sharing) is enabled. - Start the Server: Click the green "Start Server" button.
- Find Your Local IP Address:
- On Windows: Open Command Prompt and type
ipconfig. Look for the "IPv4 Address" under your Wi-Fi or Ethernet adapter (e.g.,192.168.1.50). - On Mac: Open Terminal and type
ipconfig getifaddr en0.
- On Windows: Open Command Prompt and type
- Note the Endpoint URL: Your endpoint will be
http://<YOUR_LOCAL_IP>:1234/v1.
Option B: Configuring Ollama
Ollama is a lightweight, terminal-based powerhouse, but by default, it only listens to "localhost" (your computer itself). We need to tell it to listen to your entire local network so your phone can connect.
- Set the Environment Variable: You must change the
OLLAMA_HOSTvariable to0.0.0.0to allow external LAN connections.- On Windows: Open your Start menu, search for "Environment Variables," and add a new System Variable: Name =
OLLAMA_HOST, Value =0.0.0.0. Restart Ollama completely. - On Mac/Linux: Open your terminal and run
OLLAMA_HOST=0.0.0.0 ollama serve.
- On Windows: Open your Start menu, search for "Environment Variables," and add a new System Variable: Name =
- Find Your Local IP Address: Use the same method mentioned in the LM Studio section above.
- Note the Endpoint URL: Ollama's default port is
11434. Your endpoint will behttp://<YOUR_LOCAL_IP>:11434/v1.
Pro-Tip for both methods: If your phone fails to connect later, check your computer's firewall settings. You may need to create an inbound rule allowing traffic on port 1234 (LM Studio) or 11434 (Ollama).
Phase 2: Connecting the LMSA App
Now that your local AI server is humming along, it is time to connect your phone.
- Launch LMSA: Open the app on your Android device.
- Access Settings: Navigate to the configuration or settings menu within the app to add a new server endpoint.
- Input Your Endpoint: Enter the URL you noted down earlier.
- Example for LM Studio:
[http://192.168.1.50:1234/v1](http://192.168.1.50:1234/v1) - Example for Ollama:
[http://192.168.1.50:11434/v1](http://192.168.1.50:11434/v1)
- Example for LM Studio:
- API Key Field: Because you are connecting to your own local machine, you do not need a real API key. You can usually leave this blank, or simply type "lm-studio" or "ollama" if the app requires a placeholder string.
- Save and Select: Save your configuration. The app should now fetch the list of available models loaded on your desktop. Select your desired model.
Phase 3: The Best of Both Worlds – Using OpenRouter with ZDR
While running local models is the ultimate privacy flex, there are times when you might need the heavy lifting capabilities of massive frontier models like Claude 3.5 Sonnet, GPT-4o, or Command R+.
LMSA seamlessly supports OpenRouter, an API aggregator that grants you access to dozens of top-tier models. But what about privacy?
This is where OpenRouter’s Zero Data Retention (ZDR) policy comes into play. When applicable, OpenRouter routes your prompts to providers that have explicitly agreed not to train on or retain your data. Because LMSA still handles the Text-to-Speech (TTS) and Speech-to-Text entirely on your device, your biometric voice data remains safe. Only your text prompt is securely transmitted to OpenRouter under the ZDR agreement.
To set up OpenRouter in LMSA:
- Create an account at OpenRouter.ai and generate an API key.
- In LMSA, select the OpenRouter provider option
- Paste your OpenRouter API key into the authorization field.
- Select a ZDR-supported model from the list.
You now have a portable, highly capable AI assistant that respects your data boundaries, whether querying your home PC or a private cloud endpoint.
Phase 4: Experiencing Private Voice Chat
With everything connected, return to the main chat interface in LMSA. Tap the microphone icon and speak naturally.
Here is what is happening under the hood in a fraction of a second:
- Your Android phone's local voice recognition engine converts your speech to text.
- LMSA sends that text over your private Wi-Fi to your PC running LM Studio or Ollama.
- Your computer’s GPU/CPU processes the prompt and streams the text response back to your phone.
- LMSA uses your device’s internal Text-to-Speech engine to read the response aloud to you in real-time.
You can tweak the TTS settings within the app, adjusting the voice profile, speed, and pitch to create a persona that feels comfortable to you. Because the TTS is handled on-device, there is virtually zero latency between the text arriving and the voice speaking, resulting in a conversational flow that rivals and often beats major corporate AI assistants.
Taking Control of Your AI
We are moving away from an era where using cutting-edge technology meant freely handing over our personal data. By pairing a robust local server like LM Studio or Ollama with a purpose-built, privacy-first mobile client like LMSA, you are taking ownership of your digital infrastructure.
Whether you are using it to brainstorm ideas, practice a foreign language, or just have a late-night philosophical debate with an AI, you can speak freely. Your voice is your own, your data stays in your house, and your AI works exclusively for you.
Ready to build your private AI assistant? Head over to https://lmsa.app or search for LMSA on the Google Play Store today.